So here is my beautiful bed of set-up Wall-O-Waters! Except that some of them have been with me for a while and are not looking so beautiful anymore...these things happen as we age. Some of us need a little more primping in the morning. Wall-O-Waters need repair kits!
My son insisted on posing with this picture, crazy hair and all :-). But you can see how this particular Wall-O-Water is leaning a little bit to the right. Since it's not doing the "Hokey-Pokey" we can assume one of the tubes is not fully filled with water. Here's where the repair kit comes in.
I bought these at the same gardening supply store where I purchased the new Wall-O-Waters I needed this year. Some are just beyond repair after 7 years! The process is fairly simple. Decide which tube is the culprit and pull out a repair sleeve.
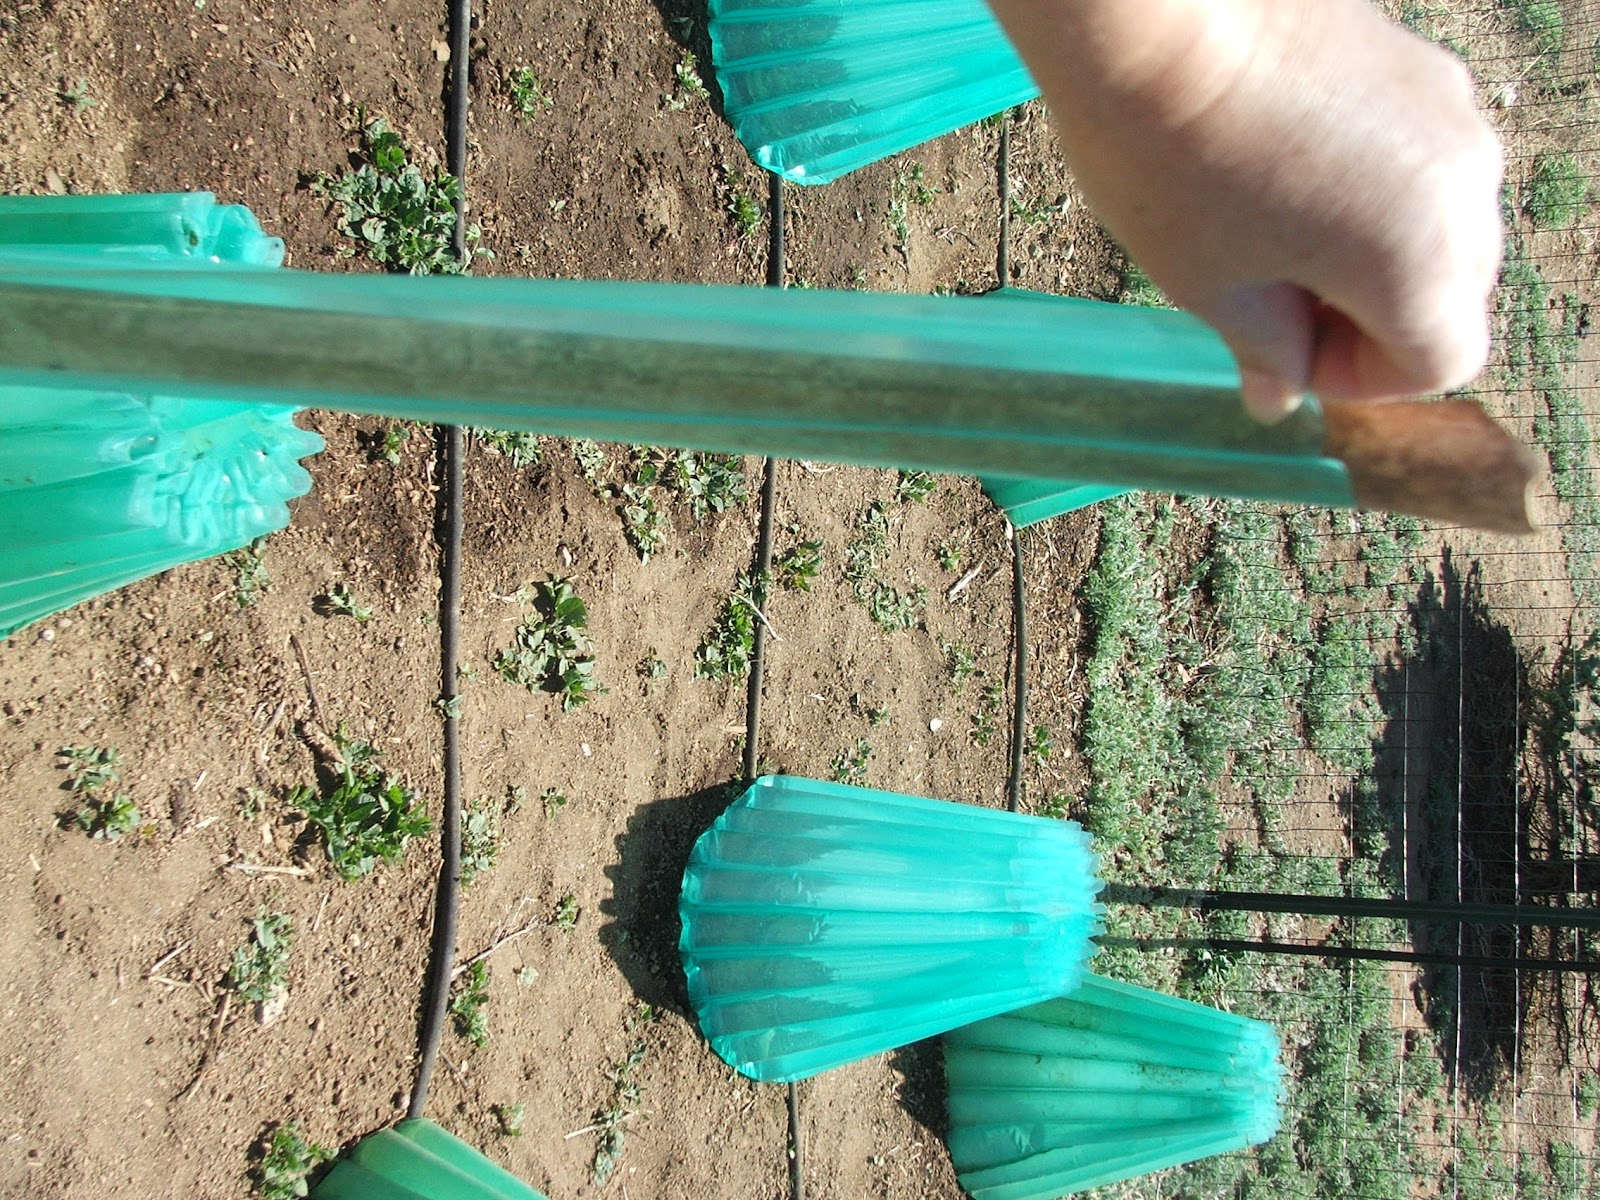
I found a short piece of fairly narrow PVC pipe to insert mine with. I put the pipe inside the entire length of the repair sleeve... (My apologies, I couldn't figure out how to flip the silly picture!)
And then pushed the sleeve down into the leaking tube.
Ta-da! You can see, I'll need a couple to fix this one.
Remove the PVC (or whatever implement works for you, careful that it doesn't have any sharp points!)
And fill the newly repaired tube with water.
Works like a charm!
And now it's ready for my beautiful seedlings! Hope this was helpful to someone. This is the first year I've buckled down and repaired my older "waters". It really was simple and quick and it saved a few bucks. Enjoy your gardens!


No comments:
Post a Comment