Monday, May 21, 2012

Granola Energy Bites

 This is a really easy recipe I found on The Marathon Mom 's blogsite.  She's got a much better pic of the end product...my batteries were dead on my camera, so all my pics came from my phone. Sorry!  Start out with 2 cups of oats and toss them in a large mixing bowl (you'll need the room to smush it all together in the end!)


 Have your lovely (little) assistant help by adding in 2 cups of coconut flakes and 1 cup ground flaxseed.


 Now, 1 cup of chocolate chips (I used semi-sweet, but you could probably sub in any kind you like!)


 Ok, lovely assistant, now gently pour in 1 tsp cinnamon.


 Now, gently stir it all to combine...


 Next, add in 2 tsp vanilla and 1 cup peanut butter (or sunbutter/other nut butter).


 Add in 2/3 cup of honey (I used raw, but regular would work just fine!).


 Here's the fun part.  Smush it all together to mix well.  You can use a spoon, but bare hands really work better to evenly distribute the peanut butter and honey.


Then, form them into balls of whatever size you like and store them (covered) in the fridge.  I ended up with about 4 doz small-ish bites.  My kids are younger and it's easier for them to eat.  (Don't try to count them from the picture....not all of them made it to the fridge, lol...yum!)  Check out the blog linked above, the commenters really played with this recipe and have several variations that sound so good!

Here it is a little more consolidated:

Granola Energy Bites

2 cups oats
2 cups coconut flakes
1 cup ground flaxseed
1 cup chocolate chips
1 cup peanut butter
2/3 cup honey
2 tsp vanilla
1 tsp cinnamon

Mix all dry ingredients in a large mixing bowl.  Add in wet ingredients and smush (that's a technical term!) to completely combine.  Shape into balls and store, covered, in the fridge.

Thursday, May 17, 2012

Fixing a leaking "Wall-O-Water"

 So here is my beautiful bed of set-up Wall-O-Waters!  Except that some of them have been with me for a while and are not looking so beautiful anymore...these things happen as we age.  Some of us need a little more primping in the morning.  Wall-O-Waters need repair kits!


 My son insisted on posing with this picture, crazy hair and all :-).  But you can see how this particular Wall-O-Water is leaning a little bit to the right.  Since it's not doing the "Hokey-Pokey" we can assume one of the tubes is not fully filled with water.  Here's where the repair kit comes in.


 I bought these at the same gardening supply store where I purchased the new Wall-O-Waters I needed this year.  Some are just beyond repair after 7 years!  The process is fairly simple.  Decide which tube is the culprit and pull out a repair sleeve.


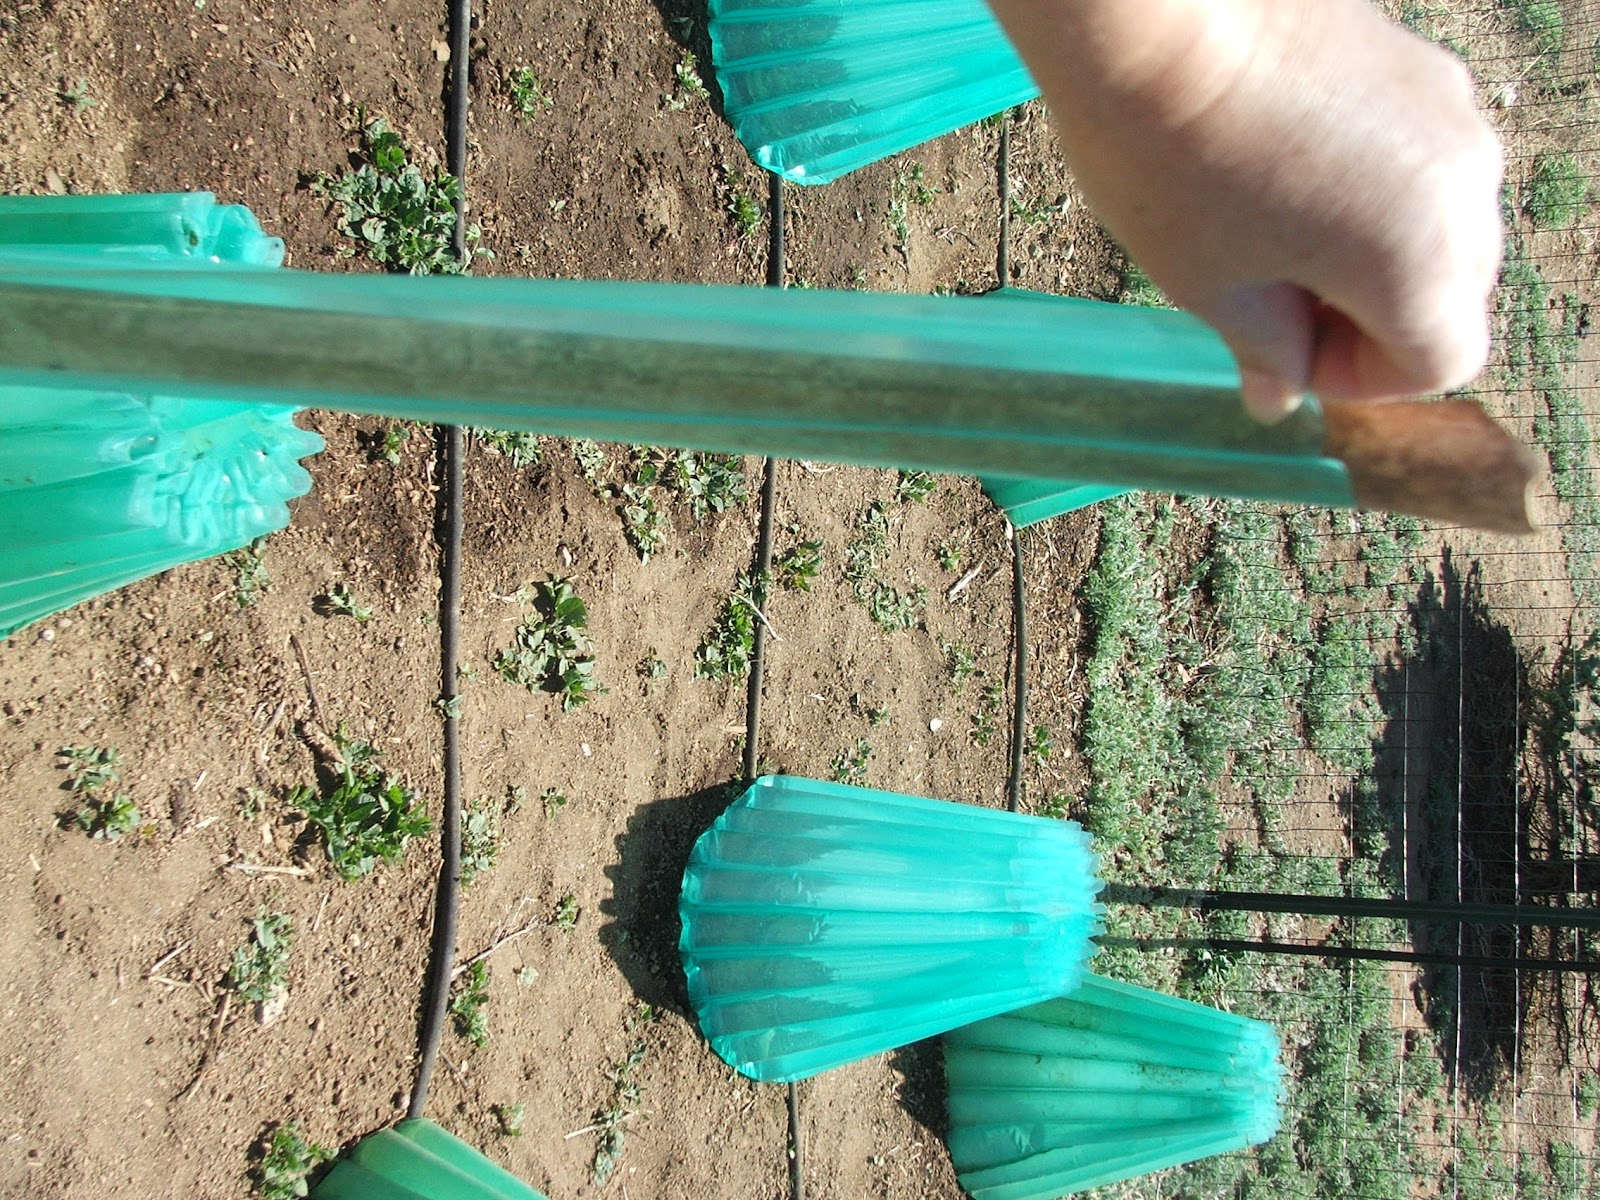
 I found a short piece of fairly narrow PVC pipe to insert mine with.  I put the pipe inside the entire length of the repair sleeve... (My apologies, I couldn't figure out how to flip the silly picture!)


 And then pushed the sleeve down into the leaking tube.


 Ta-da! You can see, I'll need a couple to fix this one.


 Remove the PVC (or whatever implement works for you, careful that it doesn't have any sharp points!)


 And fill the newly repaired tube with water.


 Works like a charm!


And now it's ready for my beautiful seedlings!  Hope this was helpful to someone.  This is the first year I've buckled down and repaired my older "waters".  It really was simple and quick and it saved a few bucks.  Enjoy your gardens!

Sunday, May 6, 2012

Sleeping Babies

Does any other parent have my obsession with photographing your sleeping children?  I can't seem to help myself...they're just so darned cute...and funny...and cute!  Some days it seems to be the only photo I can snap of them that isn't just a big blur.
There's always the classic sleeping newborn.  So sweet, so small and pink...and squishy.  Sorry, I'll stop :-)
You've got the funny pet-involved photo...


 The mid-action shot...

 This little gal shopped 'til she dropped...


 And partied-hardie...


To tired to even finish his supper.

In the end, I think it's just my attempt (as the parent of three) to hold onto every snippet, every morsel of their childhood.  To remember every adorable, silly, wacky, beautiful look on their little faces.  To attempt to freeze time.  To capture the feeling of small feet running the floor in our house, little fingers smudging the glass, and tiny arms hugging my leg.  It doesn't work, but it helps me remember.

Friday, May 4, 2012

Garden Time!

 It was a little chilly that day, so we bundled up with the froggy hat and baby backpack and headed out.


 Watered the strawberry plants.  They're still so small, but trying bravely to come back from winter and pregnant momma's neglect last summer.


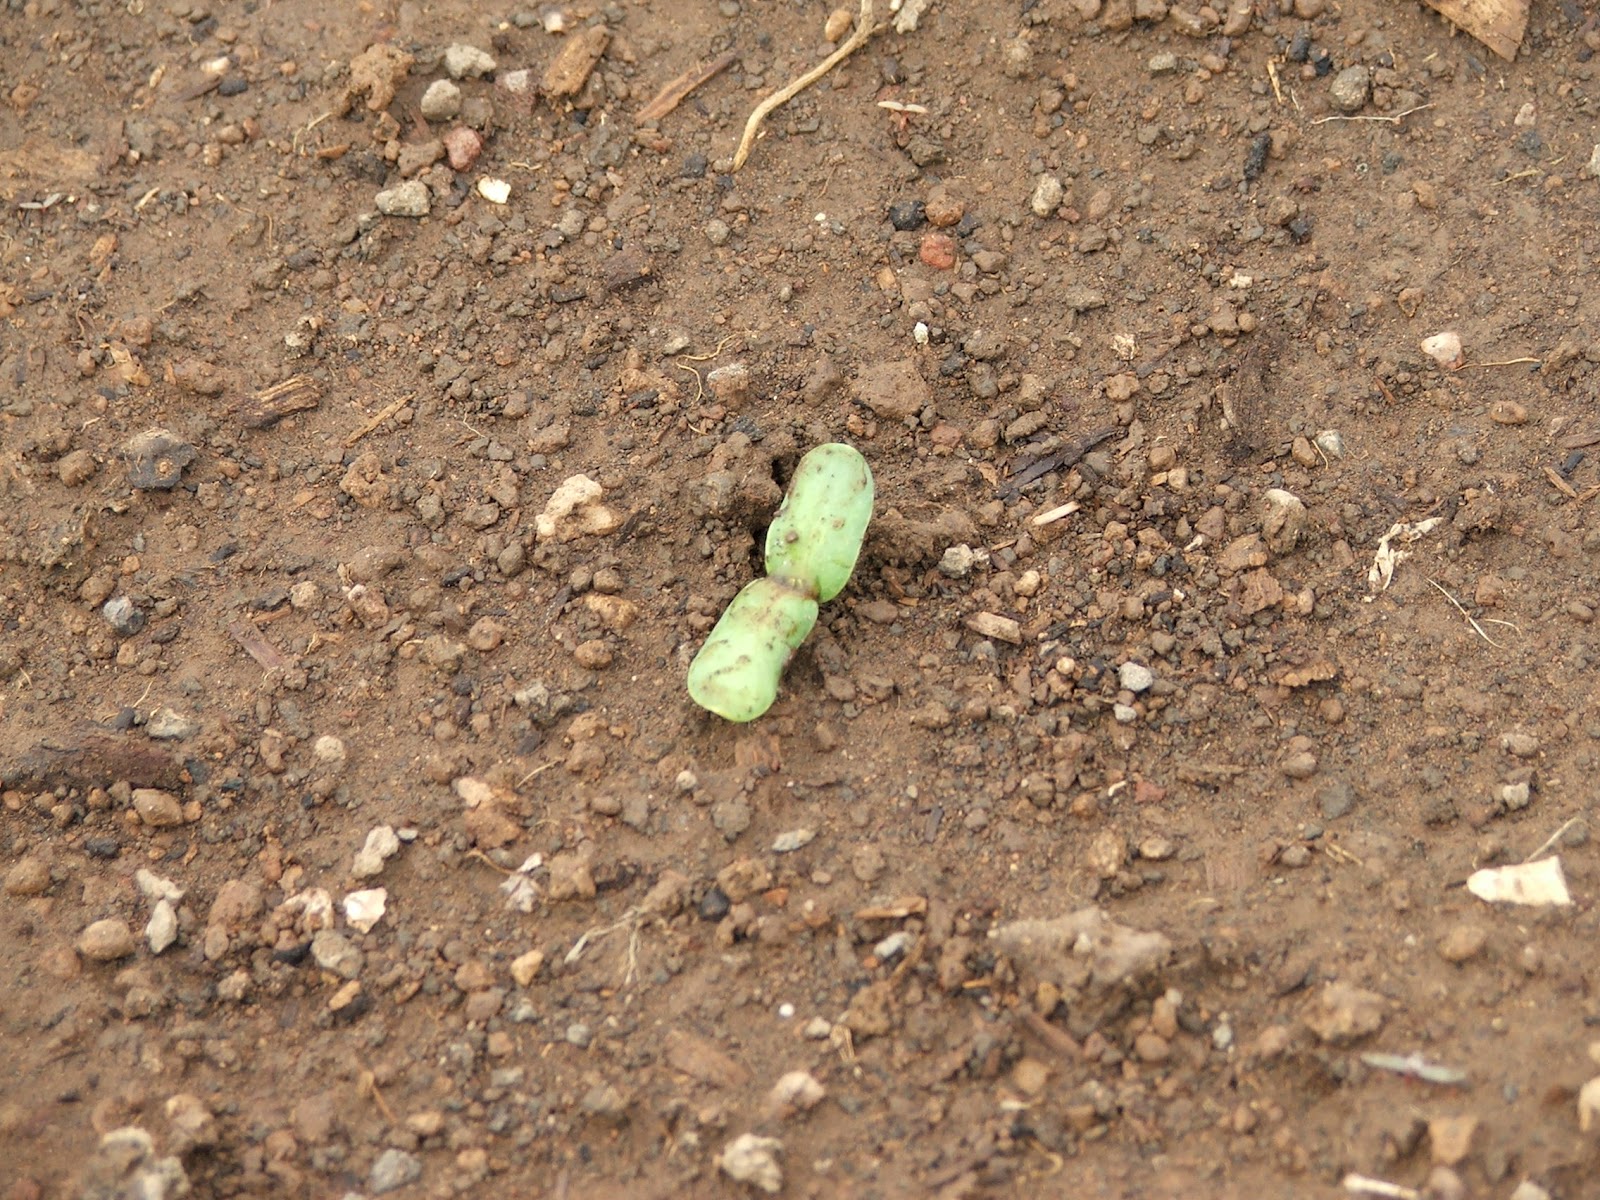
 Sunflowers are starting to poke thru!  Giant Grey...should be tall and beautiful soon.


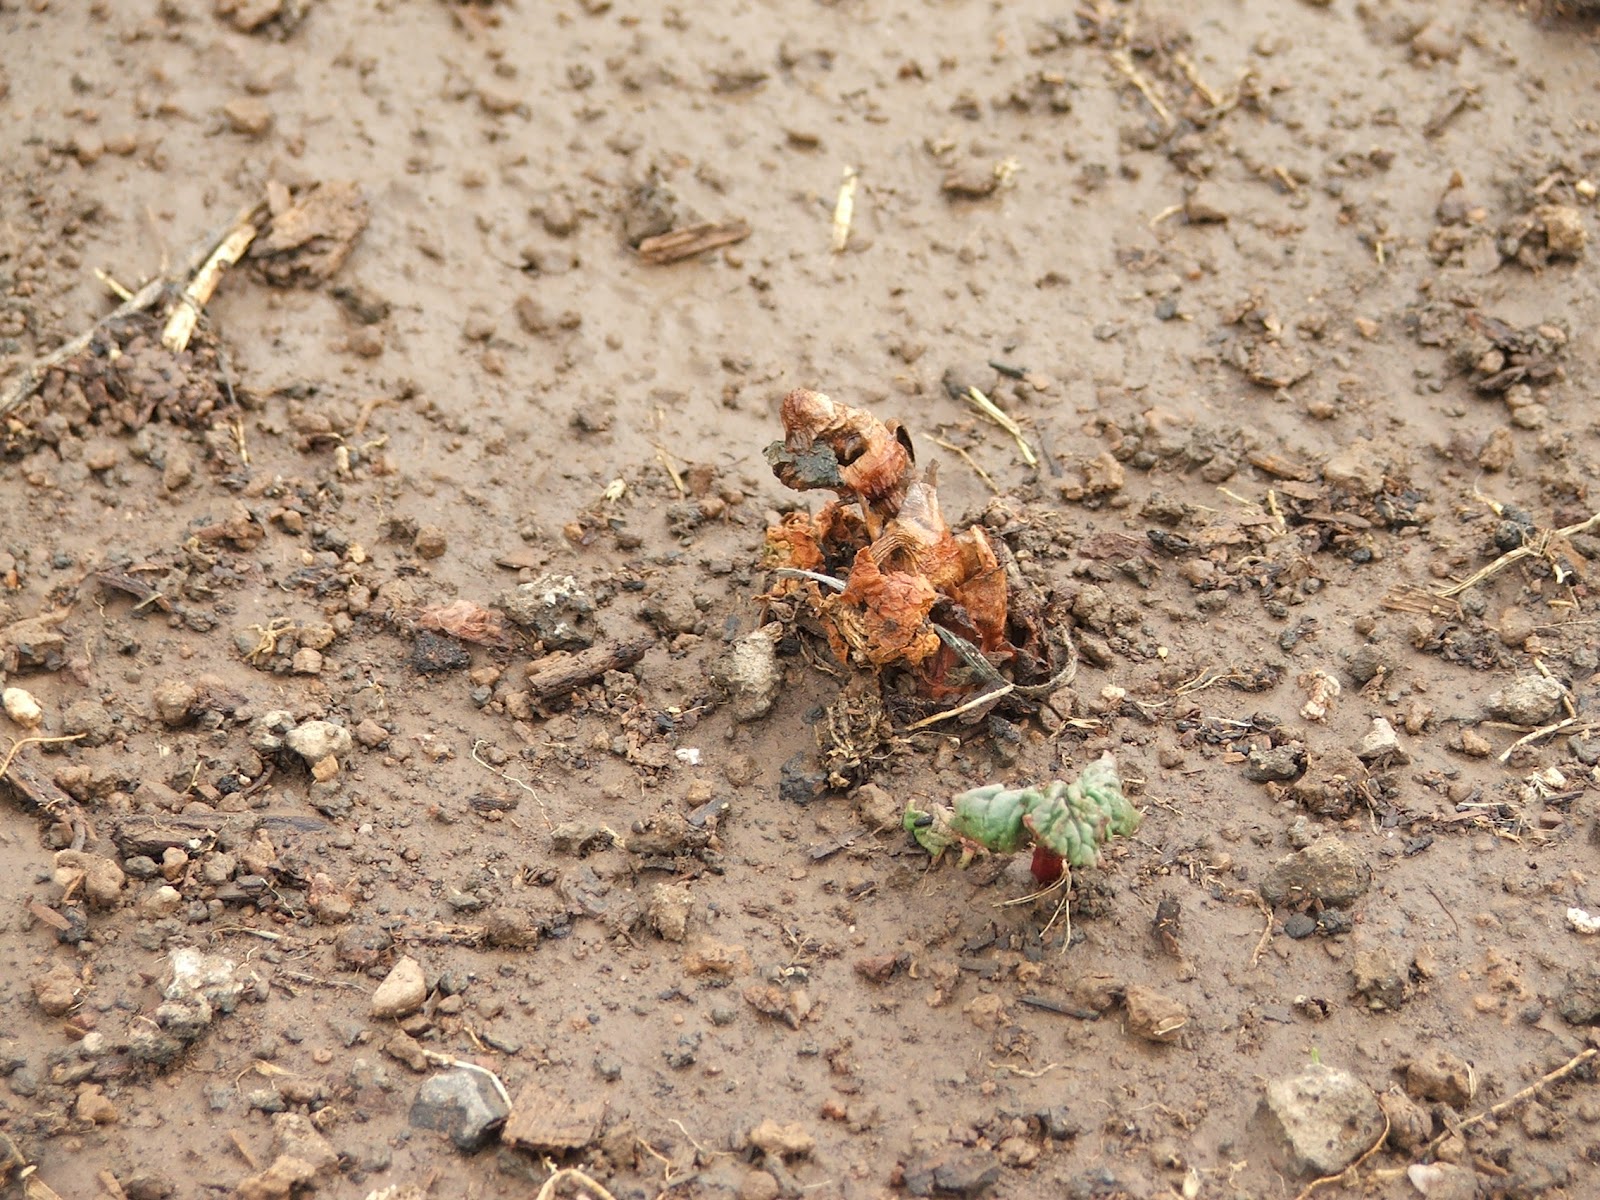
 This is a bareroot rhubarb plant.  The part that had sprouted while it was in my kitchen has died back, but a new sprout is emerging.  No harvesting this year, gotta let those roots set up!


 Baby Kale!  They're still so tiny, but I can already taste the kale chips.  Yummmmmmyy...


 This is my tomato/pepper bed.  My little helper was out assisting me in laying out the soaker hoses for watering.  The bricks are just for weight until they settle.  They weren't used last year and have been all coiled up, so they really didn't want to behave and lay straight for me just quite yet.


 Here's the start of setting up the Wall-O-Waters.  Set down a five gallon bucket (upside down and over the plant if you planted first, I'm pre-warming the soil so there's no plant yet).


 Pop your Wall-O-Water around the bucket and begin to fill each tube like you would tighten a tire's lug nuts.  12-6-9-3, etc until filled.


 Here's what it'll look like when you're done filling.  Lovely.


 Slide the bucket out carefully, and straighten it up, if needed.


The tops will tend to collapse in a bit, giving it a "tepee" look.  Perfect! It'll be ready in no time for my little seedlings, with a mini-greenhouse for each one!  Now, only 18 more to go...

Tuesday, May 1, 2012

Fancy Grilled Cheese Sandwiches


Grab your ingredients, it's gonna be yummy!  You'll need some good whole grain bread, raspberry preserves, thinly sliced pear, sliced muenster cheese, and a little cooking spray.  Ready?


 Spread both slices of bread with raspberry jam, pile on the cheese and pear slices, then pop the other slice on top (jam to the inside!).  Spray your warm pan and place your delicious-to-be creation in it.


 Use some top weight to get the sandwich warm enough to melt the cheese, I just use a plate to be simple.


 Flip it over when it's nice and toasted (I'd keep your heat to med-high, so the pear and cheese can warm all the way thru before you incinerate the bread).


Using a spatula, remove sandwich to serving plate and slice in half (well, you don't HAVE to, but it looks so pretty...).  And, EAT! (You probably didn't need me to tell you that ;-)

This sandwich is a healthier version of the Bacon, Pear, and Raspberry Grilled Cheese from the Tasty Kitchen website.  I didn't actually MEAN to make it healthier, per se, I just forgot in the rush to get dinner on the table to add the bacon inside and the butter on the outside.  But 'cha know what?  Everyone liked it, kids included!  So there ya go, forgetting can be healthy for you! Enjoy!

Monday, April 30, 2012

Kale Chips

Kale washed, dried, and chopped

Kale Chips ready to be tasted!

I made kale chips tonight for a snack, so yummy!  Much better than the other concoctions I probably would've come up with after the kids went to bed, haha.  They're very simple to make.  The recipe I use is a spin-off from my friend's recipe at her blogsite All About Home.

The recipe is simple, here are the ingredients:

1 bunch kale
Cooking spray
2-3 pinches of Redmond's Real Salt

1- Wash and dry the kale, chop or tear into bite-sized pieces (I prefer to remove the stems).
2- Spray a cookie sheet with cooking spray, then spread the leaves out evenly.
3- Spray the leaf bites with cooking spray and lightly salt them.
4- Bake at 350 for about 10-12 min or until crispy.
ENJOY!

Note- My kids love and fight over these things, really!

Sunday, April 29, 2012

It's SPRING! Time for seedlings

Tiny seedlings emerging in my Jiffy "mini-greenhouse"

Seedlings of all sizes and varieties in my kitchen under florescent lighting.
It's SPRING! Yay!  But just outside of Flagstaff, AZ, at 6500 ft and on the windy side of the "Peaks" means starting plants inside.  But what is one to do when no greenhouse exists?  A folding workbench under florescent lights, baby...well, that's the theory anyways.  This is totally an experiment!

I've been gardening at this locale for nine years, but I have never successfully started more than one, lone tomato plant.  After a seminar given by a Flagstaff Master Gardener this year at the Flagstaff Home and Garden Show, I was feeling brave enough to attempt the tips given about tomatoes.

I've started three varieties each of tomatoes and peppers.  Tomatillos, Tigerella, Stupice (pronounced Stupitchka) and Jalapeno, Anaheim, and California Wonder (a bell pepper type).  Since the last frost date for Flagstaff is generally accepted as June 15th, but plants can be put out mid to late May, I started them at the end of March to give them a full six weeks to sprout and develop into lovely little seedlings before putting them outside.

I've also started a melon called Jenny Lind and a watermelon called Golden Crown, along with some Arnica (a medicinal herb).  We'll see if I've bitten off more than I can chew in the experimental gardening category!  As of this writing, my seedlings are about 2 weeks away from being placed outside.  I'm actually a little behind on setting out my Wall-o-Waters (guidelines on the packaging suggest 4-5 weeks before planting), but the weather has been unseasonably warm this year, so I think we'll be ok.  Goal for this week is to get the Wall-o-Waters and soaker hoses placed, and hopefully my wind protection/heat insulators (this year's will be leftover panels from the siding on our steel shop building).  Next week I'll start hardening off the seedlings, hopefully to have them in the ground by mid-May.

A second set of seedlings will be started this week.  I had to break them into two categories so that I would have enough space underneath the lights for budding plants!  This second batch will be more herbs and the companion flowers that I want to plant between my veggies to help them ward off insects and disease.  Marigolds for the corn, and petunias for the tomatoes.

Gardening is always an adventure.  I hope for success, but in the failures, there are lessons learned that I can apply to next season.  The lack of organic matter in the soil I have on my property and the high altitude mix of hot sun and chilly nights (not to mention the incredibly short growing season) make gardening around here a real challenge sometimes, but if it was easy, where would the fun be in THAT? ;-)