Showing posts with label Gardening. Show all posts

Saturday, December 8, 2012

Tomatoes...Success and Adjustments!

 This is a picture of my tomato plants from this summer.  They were HUGE!  They took over the entire bed, choking out anything I mistakenly planted alongside them.

The watermelon that was tucked in there never had a chance, there was no sunlight left for the little guy.  The pepper plants I THOUGHT I had spaced far enough away from these monsters were swallowed up!  I managed to get a decent amount off of a couple of pepper plants, but alas, most of them suffered.

What didn't suffer was my tomato crop.  I had 8 tomato plants (Tigerella and Stupice) and they yielded approximately 180 lbs of tomatoes.  I'm sad to say I actually lost the last 50 lbs worth of them, I was so terribly unprepared to handle such a harvest!  They ended up going to the chickens.


I canned over 60 pints of salsa (supplementing from the grocery store for the veggies that didn't produce or didn't produce enough!) and 18 quarts of spaghetti sauce.  Then I pureed and froze a bunch and froze some whole.  The whole tomatoes are definitely an experiment, we'll see how they go!

THIS YEAR'S SUCCESSFUL CHANGES

Big changes I made to my tomato bed this year were heat retention and wind reduction.  After learning that tomatoes prefer a temperature of 55-85 degrees night and day and that they didn't like wind, I nearly gave up!  But some great suggestions from a Master Gardener in my area got me going again.  My husband built me a four foot wall around 2 sides of the bed out of excess metal siding we had (which actually helped on both temp and wind counts) and every tomato plant was left in their "Wall-o-Water" until harvest was complete.  

Even watering by way of soaker hose helped reduce and nearly eliminate the blossom rot I had been experiencing.  But the large harvest of vine ripened tomatoes I credit to mitigating the wind/heat factors.

CHANGES FOR NEXT SEASON

Next year, the 2 sided wall will be completed to fully encase the 8' x 25' bed.  The further away from the wall the plants were, the less successful they appeared.  We'll also be switching to a drip system instead of soaker hoses, to reduce water loss during delivery.  I have also been tilling compost and crushed eggshells into the bed to provide more nutrients for the plants.  
The last big change will be in fruit types.  While I loved the success of the Stupice and Tigerella tomatoes, I want to expand to include a Roma-type tomato and a cherry-type.  Hopefully, this will help me to better utilize my crop and reduce losses at the end of the season when everything comes off at once in an attempt to save the fruit from frost!

Tomatoes have been my biggest challenge yet up here.  Short growing season, windy and cool conditions, and poor native soil were all working against me. I was so very thankful for the guiding advice I received!  Growing a plant that was meant for a temperate climate in a mountainous one can be challenging...but it doesn't have to be impossible!

Next challenge...better potato yields! ;-)

Thursday, May 17, 2012

Fixing a leaking "Wall-O-Water"

 So here is my beautiful bed of set-up Wall-O-Waters!  Except that some of them have been with me for a while and are not looking so beautiful anymore...these things happen as we age.  Some of us need a little more primping in the morning.  Wall-O-Waters need repair kits!


 My son insisted on posing with this picture, crazy hair and all :-).  But you can see how this particular Wall-O-Water is leaning a little bit to the right.  Since it's not doing the "Hokey-Pokey" we can assume one of the tubes is not fully filled with water.  Here's where the repair kit comes in.


 I bought these at the same gardening supply store where I purchased the new Wall-O-Waters I needed this year.  Some are just beyond repair after 7 years!  The process is fairly simple.  Decide which tube is the culprit and pull out a repair sleeve.


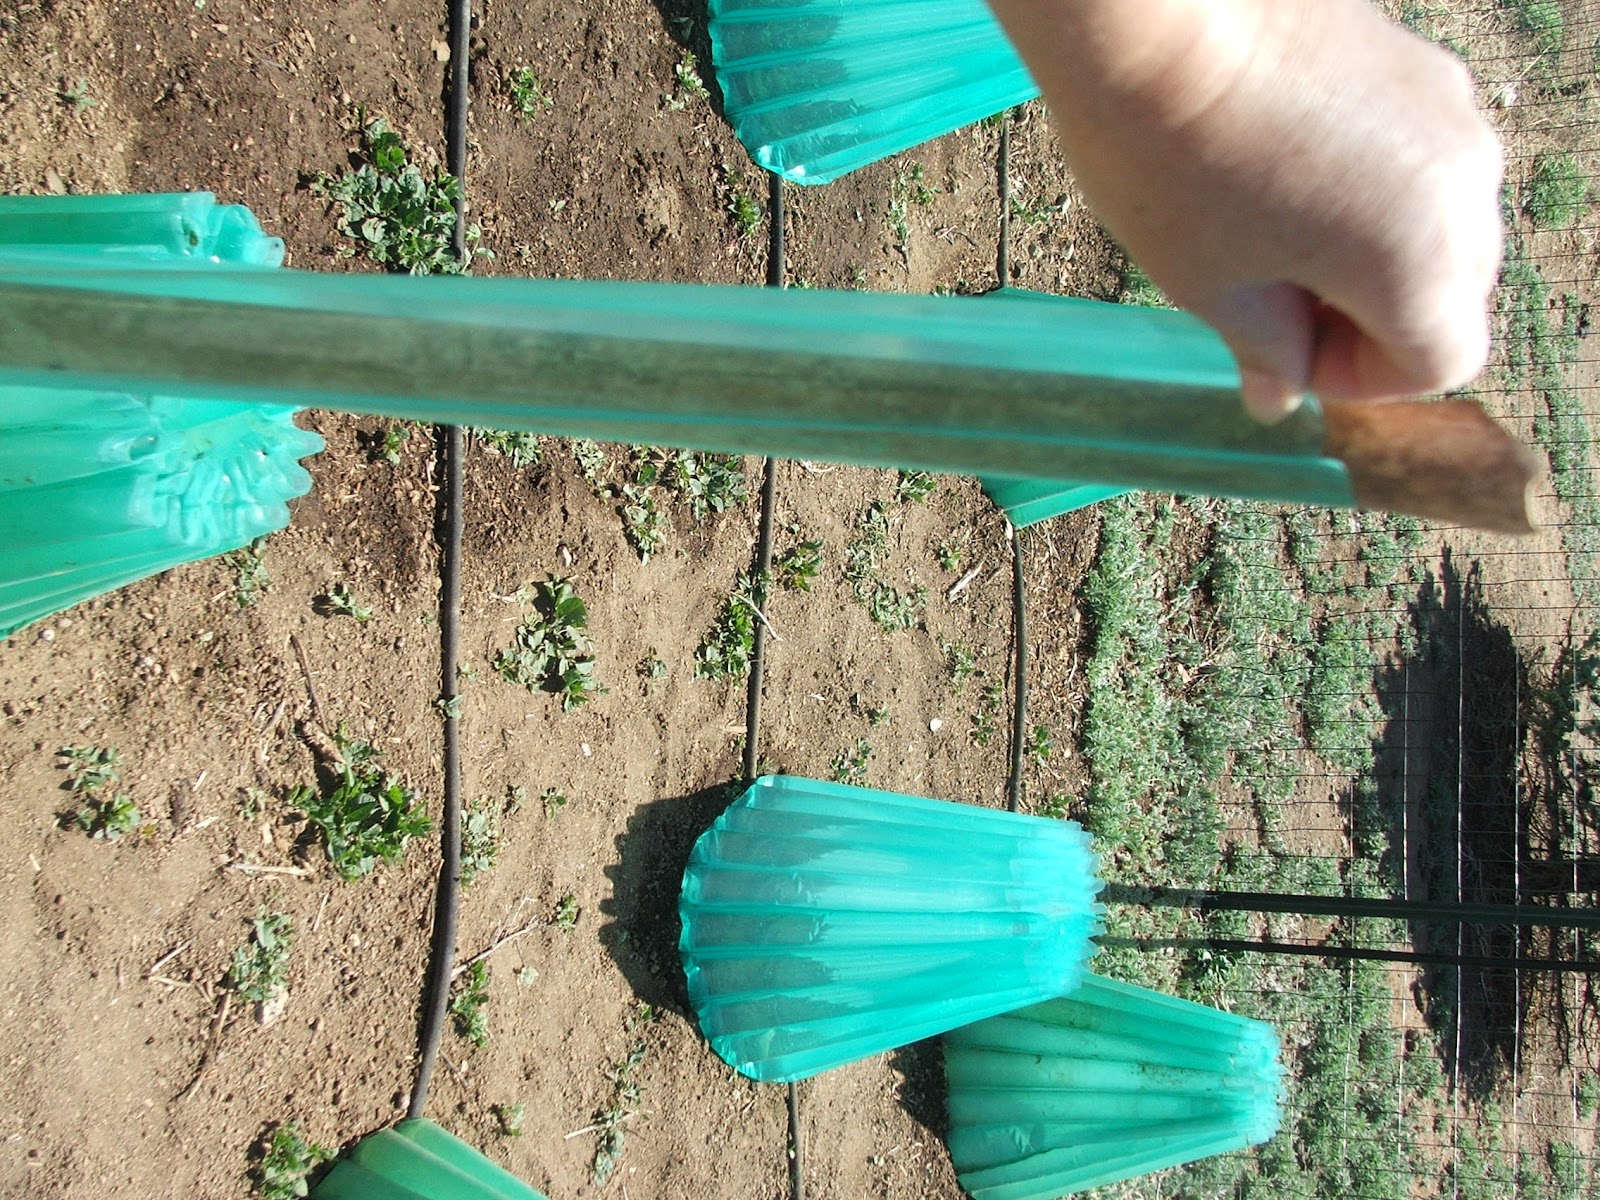
 I found a short piece of fairly narrow PVC pipe to insert mine with.  I put the pipe inside the entire length of the repair sleeve... (My apologies, I couldn't figure out how to flip the silly picture!)


 And then pushed the sleeve down into the leaking tube.


 Ta-da! You can see, I'll need a couple to fix this one.


 Remove the PVC (or whatever implement works for you, careful that it doesn't have any sharp points!)


 And fill the newly repaired tube with water.


 Works like a charm!


And now it's ready for my beautiful seedlings!  Hope this was helpful to someone.  This is the first year I've buckled down and repaired my older "waters".  It really was simple and quick and it saved a few bucks.  Enjoy your gardens!

Friday, May 4, 2012

Garden Time!

 It was a little chilly that day, so we bundled up with the froggy hat and baby backpack and headed out.


 Watered the strawberry plants.  They're still so small, but trying bravely to come back from winter and pregnant momma's neglect last summer.


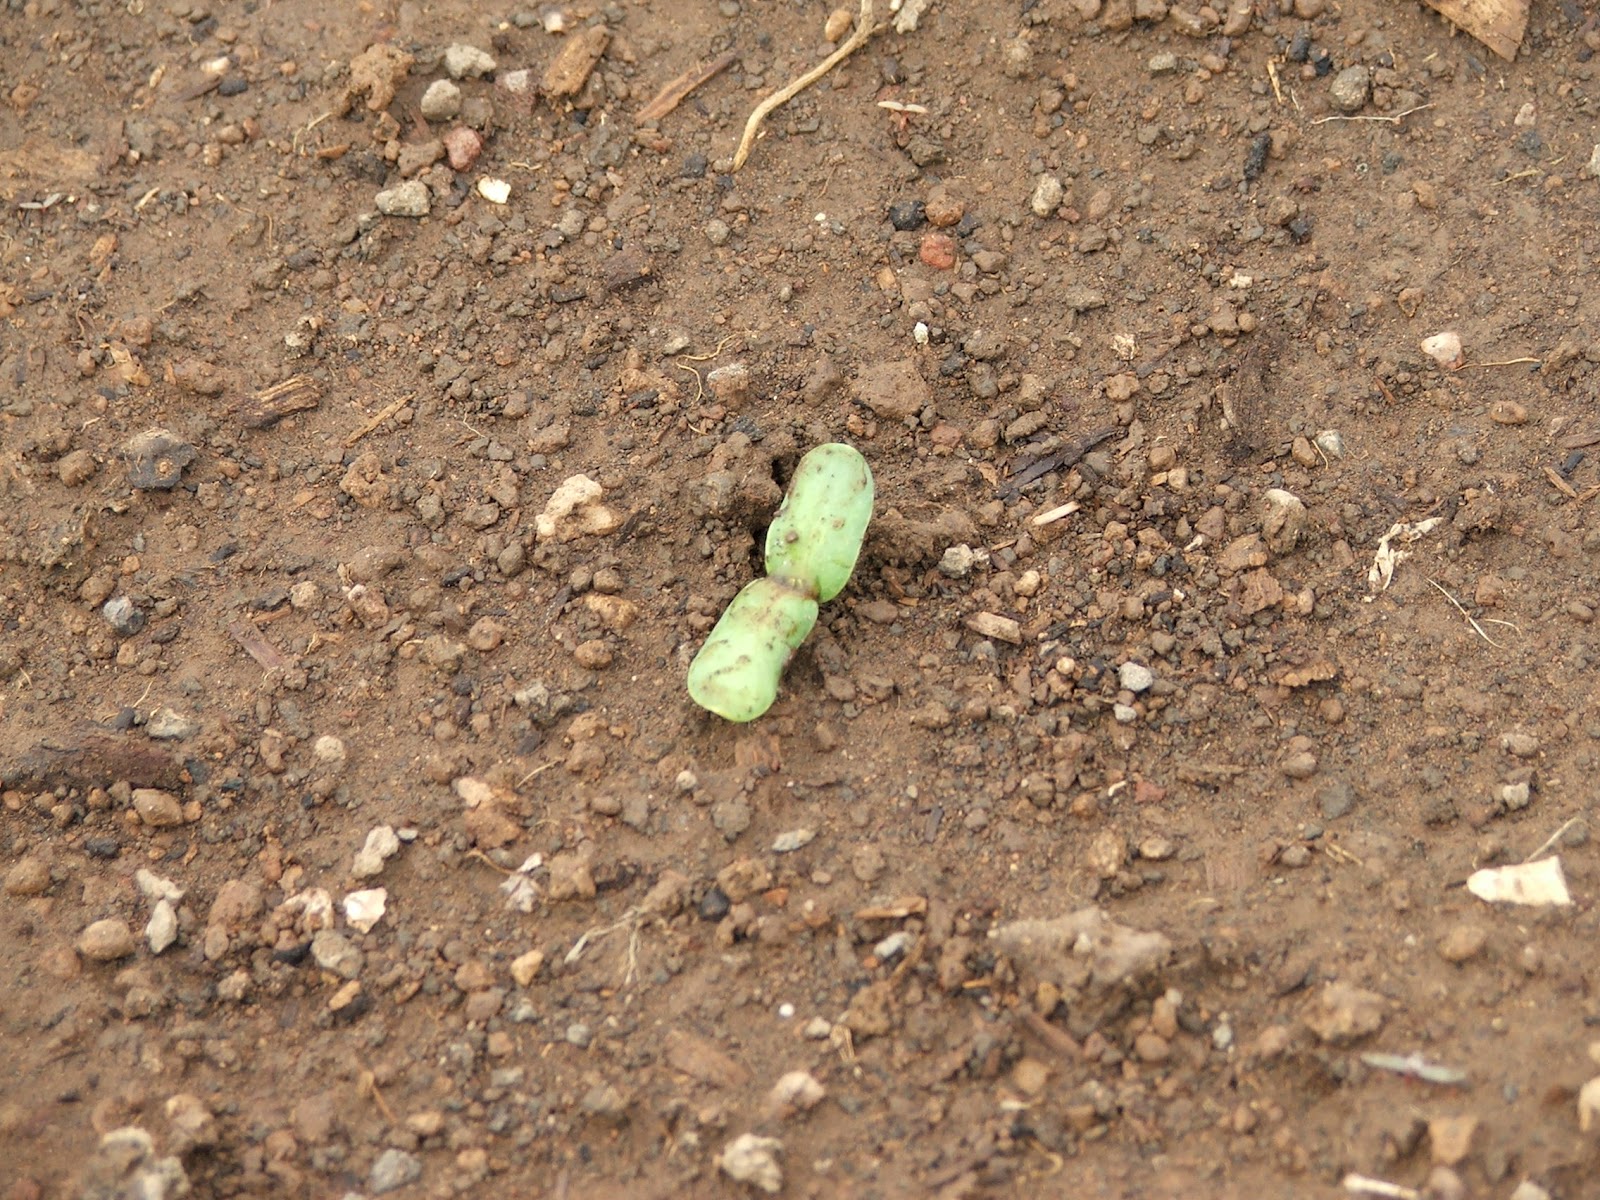
 Sunflowers are starting to poke thru!  Giant Grey...should be tall and beautiful soon.


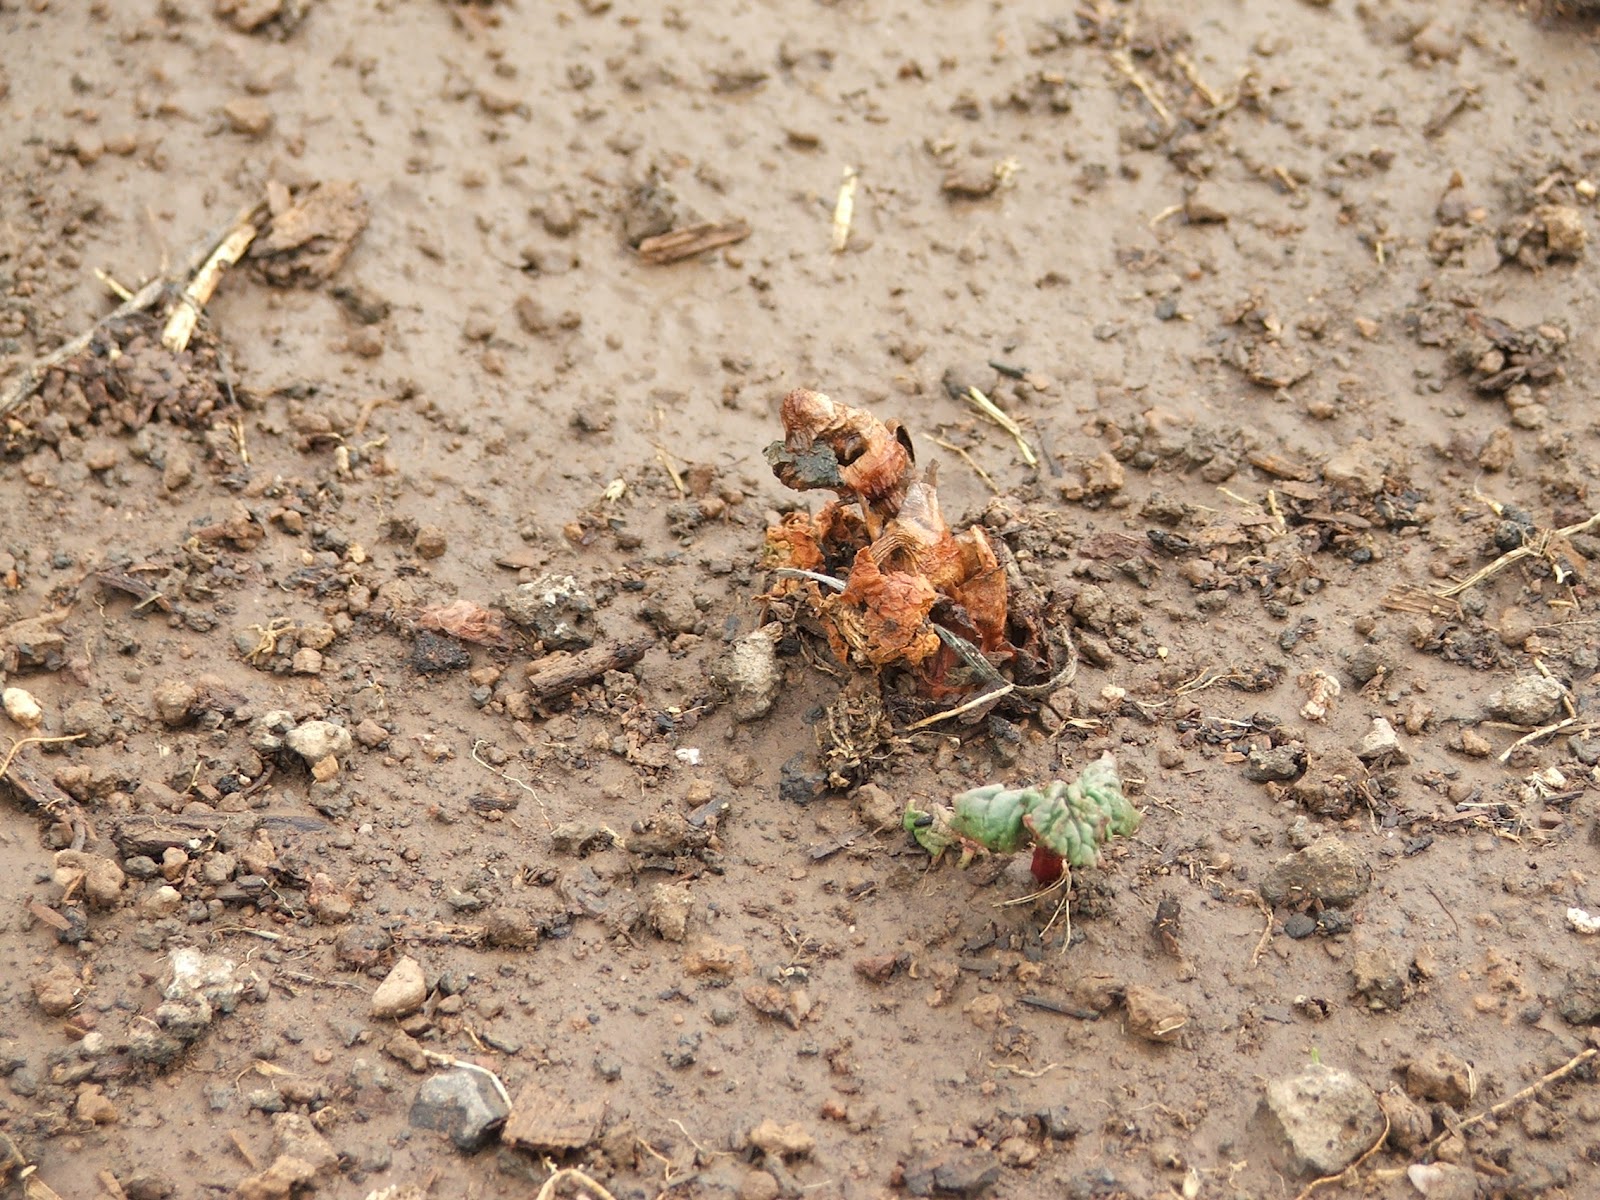
 This is a bareroot rhubarb plant.  The part that had sprouted while it was in my kitchen has died back, but a new sprout is emerging.  No harvesting this year, gotta let those roots set up!


 Baby Kale!  They're still so tiny, but I can already taste the kale chips.  Yummmmmmyy...


 This is my tomato/pepper bed.  My little helper was out assisting me in laying out the soaker hoses for watering.  The bricks are just for weight until they settle.  They weren't used last year and have been all coiled up, so they really didn't want to behave and lay straight for me just quite yet.


 Here's the start of setting up the Wall-O-Waters.  Set down a five gallon bucket (upside down and over the plant if you planted first, I'm pre-warming the soil so there's no plant yet).


 Pop your Wall-O-Water around the bucket and begin to fill each tube like you would tighten a tire's lug nuts.  12-6-9-3, etc until filled.


 Here's what it'll look like when you're done filling.  Lovely.


 Slide the bucket out carefully, and straighten it up, if needed.


The tops will tend to collapse in a bit, giving it a "tepee" look.  Perfect! It'll be ready in no time for my little seedlings, with a mini-greenhouse for each one!  Now, only 18 more to go...

Sunday, April 29, 2012

It's SPRING! Time for seedlings

Tiny seedlings emerging in my Jiffy "mini-greenhouse"

Seedlings of all sizes and varieties in my kitchen under florescent lighting.
It's SPRING! Yay!  But just outside of Flagstaff, AZ, at 6500 ft and on the windy side of the "Peaks" means starting plants inside.  But what is one to do when no greenhouse exists?  A folding workbench under florescent lights, baby...well, that's the theory anyways.  This is totally an experiment!

I've been gardening at this locale for nine years, but I have never successfully started more than one, lone tomato plant.  After a seminar given by a Flagstaff Master Gardener this year at the Flagstaff Home and Garden Show, I was feeling brave enough to attempt the tips given about tomatoes.

I've started three varieties each of tomatoes and peppers.  Tomatillos, Tigerella, Stupice (pronounced Stupitchka) and Jalapeno, Anaheim, and California Wonder (a bell pepper type).  Since the last frost date for Flagstaff is generally accepted as June 15th, but plants can be put out mid to late May, I started them at the end of March to give them a full six weeks to sprout and develop into lovely little seedlings before putting them outside.

I've also started a melon called Jenny Lind and a watermelon called Golden Crown, along with some Arnica (a medicinal herb).  We'll see if I've bitten off more than I can chew in the experimental gardening category!  As of this writing, my seedlings are about 2 weeks away from being placed outside.  I'm actually a little behind on setting out my Wall-o-Waters (guidelines on the packaging suggest 4-5 weeks before planting), but the weather has been unseasonably warm this year, so I think we'll be ok.  Goal for this week is to get the Wall-o-Waters and soaker hoses placed, and hopefully my wind protection/heat insulators (this year's will be leftover panels from the siding on our steel shop building).  Next week I'll start hardening off the seedlings, hopefully to have them in the ground by mid-May.

A second set of seedlings will be started this week.  I had to break them into two categories so that I would have enough space underneath the lights for budding plants!  This second batch will be more herbs and the companion flowers that I want to plant between my veggies to help them ward off insects and disease.  Marigolds for the corn, and petunias for the tomatoes.

Gardening is always an adventure.  I hope for success, but in the failures, there are lessons learned that I can apply to next season.  The lack of organic matter in the soil I have on my property and the high altitude mix of hot sun and chilly nights (not to mention the incredibly short growing season) make gardening around here a real challenge sometimes, but if it was easy, where would the fun be in THAT? ;-)