Monday, May 26, 2014

Homeschooling! Our New Adventure

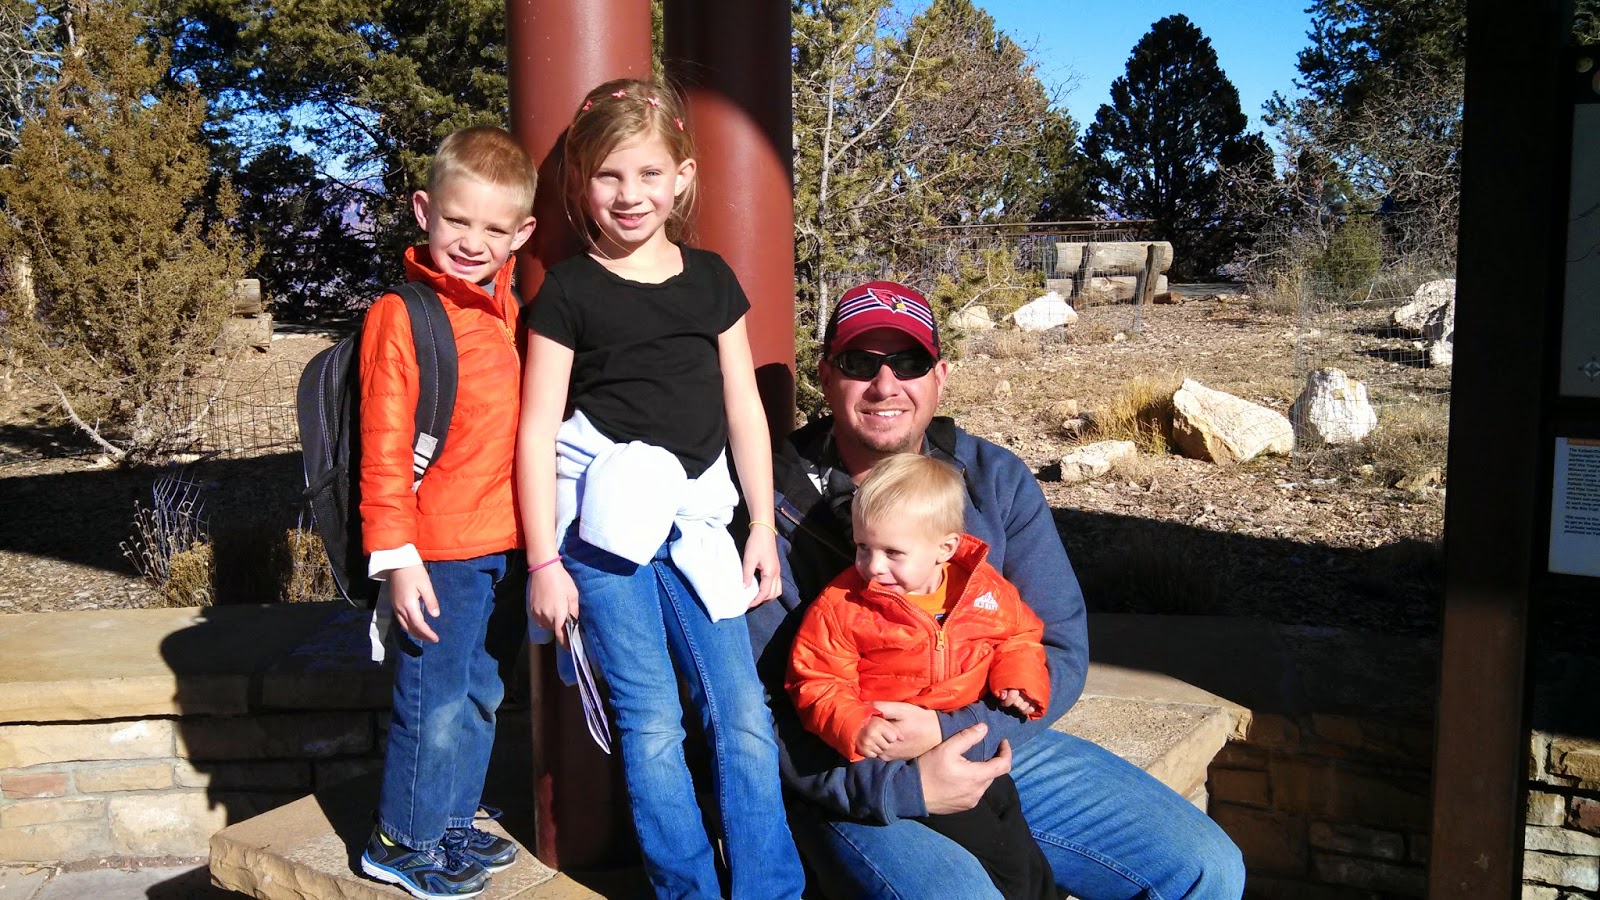
This is a picture of our first day of homeschooling, in August 2013.  I thought about blogging as we went along, and quickly realized I'd better just stick to lesson planning for the first year!  We had decided in May of the same year that after our oldest finished first grade in public school we would plan on homeschooling the next school year.  Now, we have successfully completed our year, so I figured I might have time for a short blog post before I get too involved in planning next year...and gardening...and...haha.


We tried to integrate as many fun snacks, outdoor activities, and hands-on science as we could.  Our curriculum (K and 2nd grade) was My Father's World.  We'll be adding Apologia Science next year to add to the science aspect, which was constantly requested.  More, Mom, we want more science! :-)


One thing I wanted to make sure we did this year was field trips!  We went to the Deer Farm (near Williams, AZ), the Wildlife World Zoo, Butterfly Wonderland, We Make History's reenactments of the Revolutionary War (perfect timing, we had just studied it!), Grand Canyon National Park, Slide Rock State Park's harvest Festival (where we learned about old apple sorting equipment and got to taste homemade apple butter!), and even a jeeping trip (Thanks Daddy!) out to the "Cinder Pits" to learn a little more about volcanoes.


Hands on science, projects, arts and crafts (always taken VERY seriously, of course!) were always a part of our weeks.  Best extracurricular find of the year?  Miss Cara's art classes (THANK YOU!!).  They were amazing and really got the kids' creative juices flowing.


The kids spent time helping garden (learning more this year, too!) and we had a lot more time for family adventures.  Our flexible schedule allowed us to tag along once while Daddy was out of town, and to consistently follow his work schedule.  Daddy taught school on his days off and being in-sync with his schedule allowed us so much more wonderful time together.

This is such a short version of all we did this year, but above all, it was a wonderful experience.  Great support from family and friends was integral!  The kids have been growing academically, physically, and spiritually in leaps and bounds.  We are all very excitedly planning our adventure next year!

Wednesday, January 30, 2013

Butternut Squash, Spinach, and Cheese Pasta

This is a spin-off of a recipe for "Healthier Mac N Cheese" by Food Network.  I took the basics and ran with it!


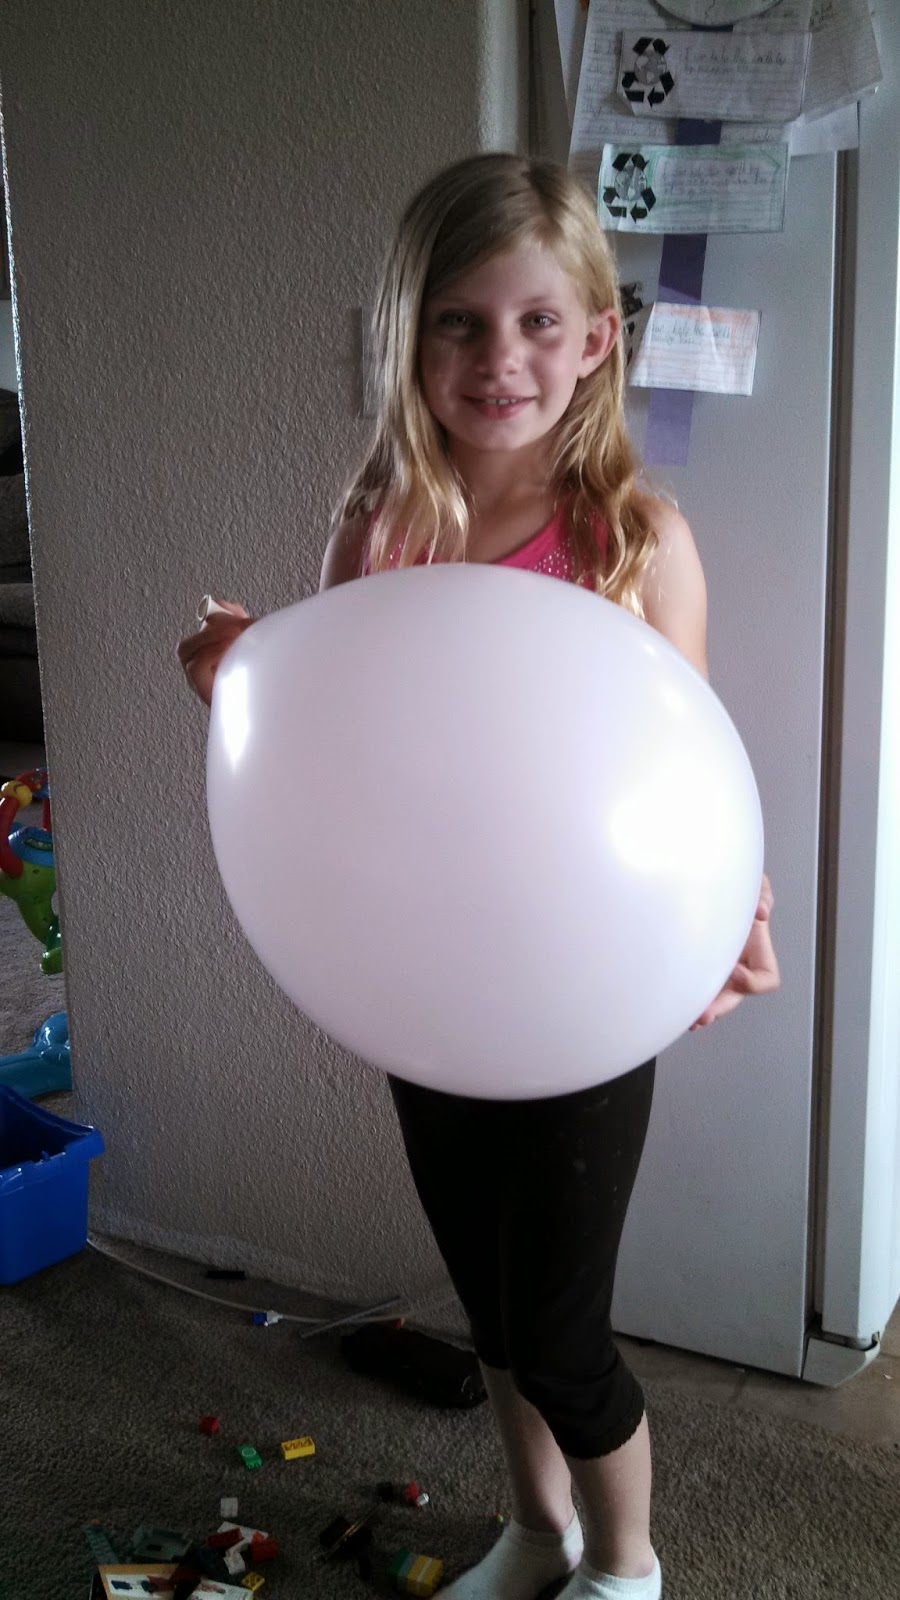
My daughter wanted to be in the picture, haha!  This recipe really is quite healthy.  I used all natural cheddar cheese (no colors, preservatives, rBHT), lowfat no-salt added cottage cheese, and frozen pureed butternut squash (it may have been acorn squash, I did a bad job labeling my frozen purees this year!)

Butternut Squash, Spinach, and Cheese Pasta

1 pkg Pasta, any shape, cooked
1 1/2 c Butternut squash, cooked and pureed
1 c. lowfat milk
1 T butter
3 T non-fat yogurt
1 1/2 c grated Cheddar cheese
1 c cottage cheese
1 bunch of spinach, wilted (stir in a skillet on med-low with a bit of olive oil until reduced by at least half)
salt & pepper (to taste, will depend on your cheeses)

Preheat oven to 400.

Put squash in a large pan over medium-high heat.  Add milk, butter, and yogurt.  Stir until incorporated.  When puree begins to simmer, slowly add the cheeses, stirring constantly.  When all the cheese is melted and sauce begins to thicken, season with a little salt and pepper.  Taste, adjust seasoning.  (I used about 1- 1 1/2 tsp. of salt and a good pinch of pepper.  I also added 1 tsp of arrowroot powder because my sauce wasn't thickening fast enough and the baby was fussing!)

Gently stir in pasta and spinach until the sauce is evenly distributed.

Pour into a lightly greased baking dish and bake for 20 minutes, until nice and bubbly. Let cool for 10 min before serving.

Serve with a big salad! Yum!

Note: I think next time I will add more spinach, at least double.  It was good!

Friday, January 4, 2013

Kids Making Dinner! *Homemade Pizza*

 Homemade pizza is so yummy! And really, very easy.  My kids always ask to help, so today we made a community-effort dinner!


 I use the Betty Crocker recipe for pizza dough for quick pizza.  It's a simple one (water, yeast, flour, oil, salt).  I used mostly whole wheat flour today.  It's more nutritious and it's also more filling (read: crazy appetites of growing kids!). I still have a few jars of homemade spaghetti sauce left from last summer's garden, so we used that for sauce.
On this recipe, you mix the ingredients and let it rest for 20 minutes.  Then you're ready to start rolling!


The kids rolled out the dough, with a little help.  They elected to curl their crusts back over so they could have "pizza bones". I also oiled the baking sheets and sprinkled them with cornmeal to keep the dough from sticking. Then, the crusts went in the oven for 10 minutes at 425.


They each spread the sauce out on the pre-baked crust...


And sprinkled on the cheese.  My kids are boring in the pizza category, they just want cheese!  We did serve veggies with the pizza tonight, but what they didn't know is the sauce is packed with garden veggies.  (Sneaky Mommy!) Now, back in the oven for about 10 minutes...


And VOILA! Individual pizzas!  The kids are impressed because they "cooked" and it made dinner fun!

HAPPY FRIDAY!

Tuesday, January 1, 2013

Healthy Banana Muffins


Happy New Year's Day 2013!  In celebration (and appreciation) of New Year's and the resolutions for healthier eating that no doubt go with it, here's a recipe I played with this morning.  The kids have tested and approved it!

Healthy Banana Muffins

1/2 c honey
1 c unsweetened applesauce
2 large eggs
2 mashed ripe bananas (approximately 1 c)
1/2 c milk (I used whole, but whatever kind you have!)
1 tsp vanilla
2 1/2 c whole wheat flour (I used hard winter wheat)
1 tsp baking soda
1 tsp salt
1/2 raw sunflower seeds
3 heaping tsp flaxseed meal (optional)
2 tsp cinnamon

1. Preheat oven to 350.
2. Mix honey and applesauce in a large bowl.  Stir in eggs until well blended.  Add bananas, milk, and vanilla.  Beat until smooth.  Stir in flour, baking soda, salt, seeds, flaxseed meal, and cinnamon until just moistened.  Pour into muffin cups (I've had better luck using silicone baking cups, the muffins seem to stick less than paper liners.  And no oil is needed like when you use plain muffin pans.).
3. Bake 25-28 minutes until muffins pressed lightly bounce back or a toothpick inserted comes out clean.  Cool slightly before attempting to pop out of muffin cups or half of the muffin will stay in the cup! (Seems to be a hazard of baking without oil/butter).
4. Enjoy!  Each muffin has approximately 116 calories and 3 grams of fat (which appx 2 g of is unsaturated, mostly from the sunflower seeds.)

Two of my New Year's Resolutions are to blog more and read my Bible more!  I have started a one year reading program in my Bible to help with the latter... ;-)

Saturday, December 8, 2012

Tomatoes...Success and Adjustments!

 This is a picture of my tomato plants from this summer.  They were HUGE!  They took over the entire bed, choking out anything I mistakenly planted alongside them.

The watermelon that was tucked in there never had a chance, there was no sunlight left for the little guy.  The pepper plants I THOUGHT I had spaced far enough away from these monsters were swallowed up!  I managed to get a decent amount off of a couple of pepper plants, but alas, most of them suffered.

What didn't suffer was my tomato crop.  I had 8 tomato plants (Tigerella and Stupice) and they yielded approximately 180 lbs of tomatoes.  I'm sad to say I actually lost the last 50 lbs worth of them, I was so terribly unprepared to handle such a harvest!  They ended up going to the chickens.


I canned over 60 pints of salsa (supplementing from the grocery store for the veggies that didn't produce or didn't produce enough!) and 18 quarts of spaghetti sauce.  Then I pureed and froze a bunch and froze some whole.  The whole tomatoes are definitely an experiment, we'll see how they go!

THIS YEAR'S SUCCESSFUL CHANGES

Big changes I made to my tomato bed this year were heat retention and wind reduction.  After learning that tomatoes prefer a temperature of 55-85 degrees night and day and that they didn't like wind, I nearly gave up!  But some great suggestions from a Master Gardener in my area got me going again.  My husband built me a four foot wall around 2 sides of the bed out of excess metal siding we had (which actually helped on both temp and wind counts) and every tomato plant was left in their "Wall-o-Water" until harvest was complete.  

Even watering by way of soaker hose helped reduce and nearly eliminate the blossom rot I had been experiencing.  But the large harvest of vine ripened tomatoes I credit to mitigating the wind/heat factors.

CHANGES FOR NEXT SEASON

Next year, the 2 sided wall will be completed to fully encase the 8' x 25' bed.  The further away from the wall the plants were, the less successful they appeared.  We'll also be switching to a drip system instead of soaker hoses, to reduce water loss during delivery.  I have also been tilling compost and crushed eggshells into the bed to provide more nutrients for the plants.  
The last big change will be in fruit types.  While I loved the success of the Stupice and Tigerella tomatoes, I want to expand to include a Roma-type tomato and a cherry-type.  Hopefully, this will help me to better utilize my crop and reduce losses at the end of the season when everything comes off at once in an attempt to save the fruit from frost!

Tomatoes have been my biggest challenge yet up here.  Short growing season, windy and cool conditions, and poor native soil were all working against me. I was so very thankful for the guiding advice I received!  Growing a plant that was meant for a temperate climate in a mountainous one can be challenging...but it doesn't have to be impossible!

Next challenge...better potato yields! ;-)

Monday, July 2, 2012

Baby Garden!

The monsoons haven't hit yet...so we're still at baby garden stage.  As I type, I can smell rain, so it'll be soon!  Every time they hit, the garden goes crazy!  The setup and planting stage of gardening is so very time consuming...it's very exciting to be nearly done, so that the growing and picking can begin.

This year, we're trying out semi-permanent beds. The setup allows us to decide in advance which beds will house which crops, so that fertilization/layout/watering can all be looked at.  This year, we staked them out and added wood chips in the walkways to help define them.  The wooden stakes turned out to be really useful in keeping long hoses in the walkways and off of delicate plants.  As the hoses get pulled around, they catch on the stakes and it has helped direct them.


Here's the newly replanted (ahem) carrots and greens bed...I planted the darned thing three weeks ago...and I  got three whole chard plants to sprout.  UGH!  So, apparently, carrots don't appreciate light hand-watering...at least in my soil.  So, this time I've got soaker hoses down for slow watering that won't wash the seeds away.  Really hoping this works as well as the last two years.  I've got some Cosmic Purple carrots in there, along with Nantes and some Chantenay.  Yum! C'mon babies, sprout!


Here's the three types of corn we're growing.  You can see the woodchip walkways.  The watering for the corn and beans are soaker hoses coming off of pvc manifolds.  It allows one hose to water 8-25 ft rows at a time.  Very helpful when attempting to water AND manage three kids, ha!  The far back corn was planted three weeks before the corn in the foreground.  At the back is blue drying corn and popcorn, the front is sweet corn.  There is also some drying beans in the back of the picture.  The fifth wheel, sadly...is on the neighbor's property...


Here is the tomato/pepper bed.  The metal wall is to minimize the wind on the plants and increase the heat.  The wall-o-waters will help hold in heat too...let's hope this helps the plants set fruit!  I was completely caught off guard with how quickly the plants grew this season, and really missed the good window on adding tomato cages within the wall-o-waters.  I'll post pics later of the after, but squeezing the plants into the cages was something like wrestling an octopus into a sweater, yikes.

Very excited to see what happens when the rain arrives.  Lots of expectations for this garden!

Healthier Chocolate Chip Cookies


YUM! I love chocolate chip cookies...but they and my current weight-loss plan don't play nicely together.  Also, I don't want to feed my kids a ton of sugar, thus- healthier chocolate chip cookies.  They don't taste the same as regular ones, and they're not exactly health food.  But they're sweet enough to kill my cravings for a treat and don't make me feel like an extra workout at the gym is necessary!

I based the recipe on the one in my Betty Crocker cookbook...then ad libbed until it looked right.  The original had a total of 2 cups of sugar (1 white, 1 brown- which is white+molasses), 1 cup of butter/margarine, white flour, no flaxseed, and 2 c of chocolate chips.   Here's what I came up with:

1/2 c melted raw honey
1/2 c packed organic brown sugar
1 c unsweetened applesauce
1 large egg
3 1/2 c whole wheat flour (I used soft winter wheat, for those of you grinding your own)
1/4 c organic ground flaxseed
1 tsp Rumford's Baking Powder (aluminum-free)
1/2 tsp Redmond's RealSalt
3/4 c chocolate chips

Mix the honey, brown sugar, applesauce and egg together.  If you're using melted honey that's still a little warm, wait to add it until after the flour is in, so you don't cook the egg.  Add flour, flaxseed, baking powder, and salt.  You may need less flour at lower elevations or if you've used regular honey...make sure the dough is stiff without being overly dry.

Line cookie sheets with parchment paper (or spray oil would probably work too, but I used parchment paper today).  Scoop the dough out into the cookie size you desire and bake at 375 for 10-15 minutes until just starting to brown on top and cookies don't dent when pressed lightly with a fingertip.

Allow to cool, then place in a high location so your kids don't scarf them all in the next ten minutes! ;-)

Enjoy!